Your HubSpot portal is buzzing with activity. Marketing qualifies new leads, sales closes major deals, and your customer service team resolves tickets. This data is the lifeblood of your business, but for most of your team, it’s hidden away behind a login screen. What if you could take that dynamic, crucial information and display HubSpot events on screens throughout your office, making wins visible and progress tangible for everyone?
This isn't just about showing off numbers; it's about building a transparent, motivated, and data-aware culture. When a salesperson sees their name flash on a screen celebrating a closed deal, it creates a powerful moment of recognition. When the marketing team sees the leads they generated move through the pipeline in real-time, it validates their hard work.
Connecting your HubSpot data to digital signage used to be a complex, custom-coded affair. With RocketScreens, however, you can set up a secure, real-time feed of your HubSpot events in minutes. This guide will walk you through the process to get started and explore creative ways to use this integration to energize your entire organization.
Table of Contents
- Why You Should Display HubSpot Events on Digital Signage
- What You’ll Need Before You Begin
- Your Step-by-Step Guide to Connecting HubSpot Events
- Beyond the Basics: 4 Creative Ways to Showcase HubSpot Data
- Frequently Asked Questions (FAQ)
- Bring Your HubSpot Data to Life
Why You Should Display HubSpot Events on Digital Signage
Before we get into the "how," let's explore the "why." Moving data from individual dashboards to shared screens creates a communal experience around your company's progress. It transforms abstract metrics into shared moments of celebration and awareness.
Fuel Sales Team Motivation with Public Recognition
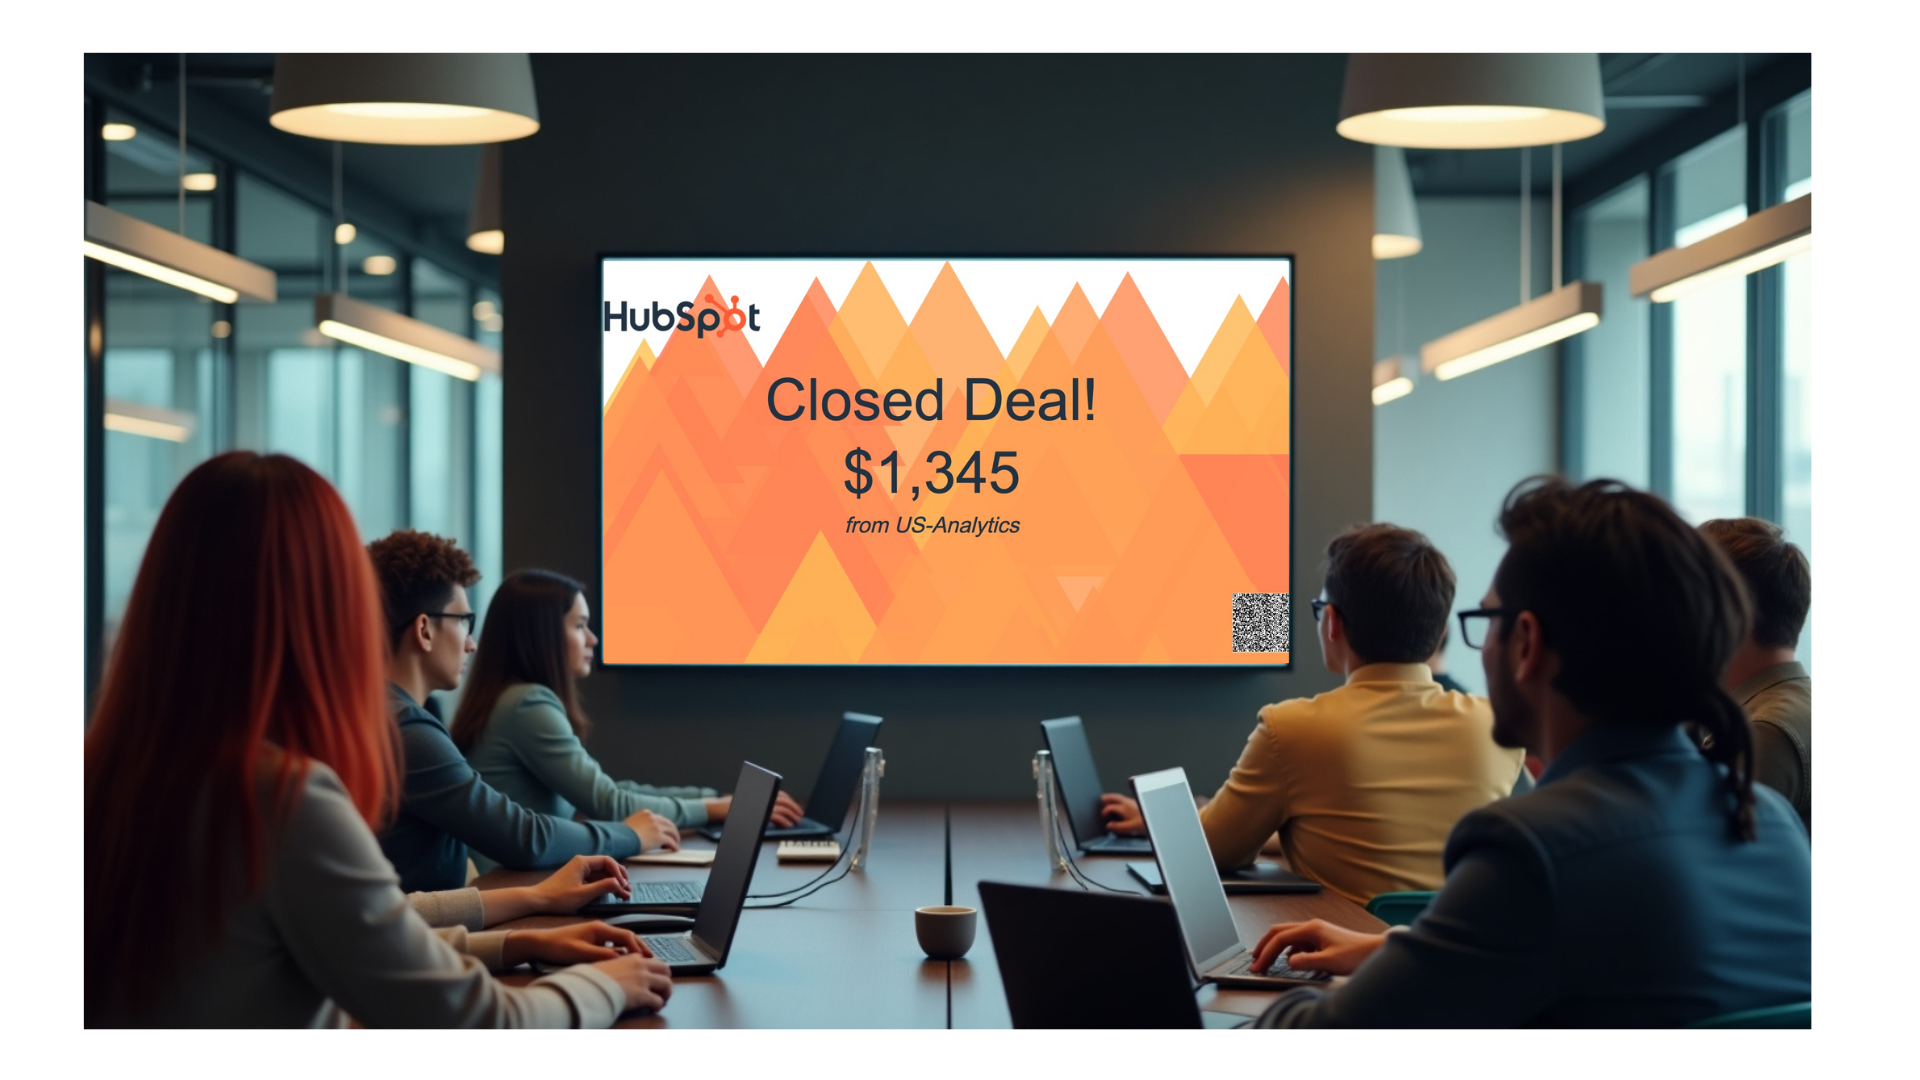
Sales is a high-pressure environment driven by results. A study on employee recognition by Gallup found that public recognition is one of the most effective ways to motivate employees. When a deal is marked "Closed-Won" in HubSpot, a real-time notification on a large screen acts as a modern-day sales gong. It provides instant, public praise that not only rewards the individual but also fosters healthy competition among the team.
Improve Cross-Departmental Alignment
Silos between marketing, sales, and customer service can cause friction and inefficiency. When you display HubSpot events for everyone to see, you create a shared understanding of the entire customer journey.
- Marketing sees which leads are converting into meetings.
- Product Development sees which new features are mentioned in sales notes.
- Finance gets a live view of incoming revenue.
This shared visibility ensures everyone is working from the same playbook and understands how their role contributes to the company's success.
Celebrate Key Milestones in Real-Time
Did your team just book its 100th demo for the quarter? Did a customer success manager secure a major renewal? These are significant milestones that often get lost in email threads or Slack channels. By setting up event triggers in HubSpot and displaying them on RocketScreens, you turn these achievements into office-wide celebrations, boosting morale and reinforcing a culture of success.
Make Data Accessible and Understandable for Everyone
Not everyone on your team is comfortable navigating complex HubSpot reports. Digital signage breaks down this barrier. By presenting key events in a visually simple and digestible format, you make critical business information accessible to employees in every department, from the front desk to the executive suite. This democratization of data empowers everyone to think more strategically about their work.
Reinforce a Data-Driven Company Culture
When you dedicate screen real estate to live business metrics, you send a clear message: data matters here. It encourages conversations around performance, sparks curiosity about what drives results, and makes data a central part of your office environment. This constant exposure helps build a team that is more attuned to performance indicators and company goals.
What You’ll Need Before You Begin
Getting started is straightforward. To ensure a smooth setup, make sure you have the following ready:
- An active RocketScreens Account: You’ll need login credentials for your RocketScreens dashboard.
- An active HubSpot Account: You will need a HubSpot subscription (e.g., Professional or Enterprise) and the necessary permissions to access and create Workflows.
- A Clear Idea of What You Want to Display: Think about which events are most meaningful for your team. Is it new deals, discovery calls booked, tickets closed, or something else? Having a goal in mind will make the configuration process even faster.
Your Step-by-Step Guide to Connecting HubSpot Events
This process involves two main parts: first, creating a destination in RocketScreens to receive your data, and second, telling HubSpot when to send it.
Step 1: Create Your HubSpot Events App in RocketScreens
First, we need to create the endpoint in RocketScreens that will receive the notifications from HubSpot.
- Log in to the RocketScreens platform.
- Navigate to the Apps tab on the main menu.
- Click the New App button.
- In the search bar, type "HubSpot" and select the HubSpot Events app from the results.
- On the configuration screen, focus on these two fields:
- Webhook URL: This is a unique and secure address generated just for this app. It’s how HubSpot knows where to send the information. Click to copy this URL—you will need it in the next step.
Important: Treat this URL like a password. Do not share it publicly. - Event Type: Select the kind of event you plan to display (e.g., Won Deal, Closed Ticket).
- Webhook URL: This is a unique and secure address generated just for this app. It’s how HubSpot knows where to send the information. Click to copy this URL—you will need it in the next step.
- Click Save.
That’s all you need to do in RocketScreens for now. You've created the app and have the essential Webhook URL ready.
Step 2: Build the Sending Workflow in HubSpot
Now, let's head over to HubSpot to set up the trigger that sends the information to RocketScreens.
- Log in to your HubSpot account.
- Navigate to Automation in the top menu and select Workflows.
- Click Create Workflow and choose the From Scratch option.
- Select the object your workflow will be based on. For this example, we are tracking a won deal, so we will choose a Deal-based workflow. Click Next.
- Click the Set up triggers button to define when this workflow should run.
- In the trigger panel, choose the object (e.g., Deal).
- Search for and select the properties to filter by. To trigger an event for a won deal, you could set the triggers as:
Deal Pipeline|is any of|[Your Sales Pipeline]Deal Stage|is any of|Closed Won - Click Save.
- Now that the trigger is set, click the plus icon (+) below it to add an action.
- In the "Choose an action" menu, scroll down to the "Integrations" section and select Send a webhook.
- Configure the webhook action with the following settings:
- Method: Set this to
POST. - Webhook URL: Paste the unique URL you copied from the RocketScreens app in Step 1.
- Authentication type: Choose the option
Include request signature in header. - HubSpot App ID: Enter the following ID:
2665454
- Method: Set this to
- Click Save.
Step 3: Review and Activate Your Workflow
The final step is to turn on the workflow you just built.
- In HubSpot, review your completed workflow to ensure the trigger and action are correct.
- When you're ready, click Review and publish in the top-right corner.
- In the final review screen, confirm your settings and turn the workflow on.
You're all set! Your HubSpot workflow is now active, and the next time an event meets your trigger criteria, it will be instantly and securely sent to your screens.
Beyond the Basics: 4 Creative Ways to Showcase HubSpot Data
Once you've mastered the basic setup, you can get creative with how you use this powerful integration. Here are a few ideas to inspire you.
1. The Live "Sales Gong" Leaderboard
Combine the HubSpot Events channel with a leaderboard app. Create a display that not only shows the latest "Closed-Won" deal but also keeps a running tally of the top performers for the month or quarter. This gamifies performance and encourages friendly competition, pushing the whole team to strive for excellence.
2. The Marketing-to-Sales Handoff Dashboard
Create a dedicated screen that visualizes the flow of leads from marketing to sales. You can have one zone showing new Marketing Qualified Leads (MQLs) from HubSpot and another showing when those leads are converted into Sales Qualified Leads (SQLs) or have a meeting booked. This fosters appreciation between the teams and highlights the impact of marketing efforts on sales outcomes.
3. The "Customer Success" Wall of Fame
Sales isn't the only department with wins worth celebrating. Configure a channel to display HubSpot events related to customer success, such as:
- High customer satisfaction scores (CSAT).
- Major contract renewals.
- Successful client onboarding completions.
This ensures your customer-facing teams who are focused on retention and satisfaction receive the public recognition they deserve.
4. The Executive "Mission Control" View
For leadership offices or boardrooms, create a high-level dashboard. Combine a HubSpot channel showing top-line revenue wins with other RocketScreens channels like Google Analytics for website traffic, a stock ticker for market performance, and internal communications. This provides executives with a single, at-a-glance view of key business drivers.
Frequently Asked Questions (FAQ)
Q1: How secure is the integration between RocketScreens and HubSpot?
Security is our top priority. The connection is established using a secure webhook with a signed request, so your HubSpot credentials are never exposed. All data is transmitted over encrypted HTTPS connections.
Q2: Can I display HubSpot reports and dashboards, not just events?
Yes. The RocketScreens HubSpot integration also allows you to connect directly to your existing HubSpot Dashboards and Reports. This is perfect for displaying more complex data visualizations like pipeline forecasts and marketing campaign performance.
Q3: What types of screens does RocketScreens support?
RocketScreens is hardware-agnostic, meaning it works with virtually any modern TV or monitor. You can use a dedicated media player like a RocketScreens Player, an Amazon Fire Stick, or even a web browser to display your content.
Q4: How often does the data from HubSpot refresh on the screen?
The data refreshes in near real-time. Once an event is logged in HubSpot and the workflow runs, it typically appears on your RocketScreens display within a minute, ensuring your team always has the most current information.
Bring Your HubSpot Data to Life
Your HubSpot data holds the story of your company's daily victories and progress. By keeping it locked away on individual computers, you're missing an opportunity to inform, align, and motivate your entire team.
By following this guide, you can quickly and securely display HubSpot events on any screen in your workplace. You can move beyond static reports and create a dynamic environment that celebrates every win, keeps everyone in the loop, and builds a culture of transparency and success.
Ready to transform your office communication? Start your free RocketScreens trial today and see your HubSpot data in a whole new light.